Starting an online business with ₹0 budget? You don't need a DSLR or a Studio. Learn how to build a pro photography setup using a cardboard box, sunlight, and Local AI.
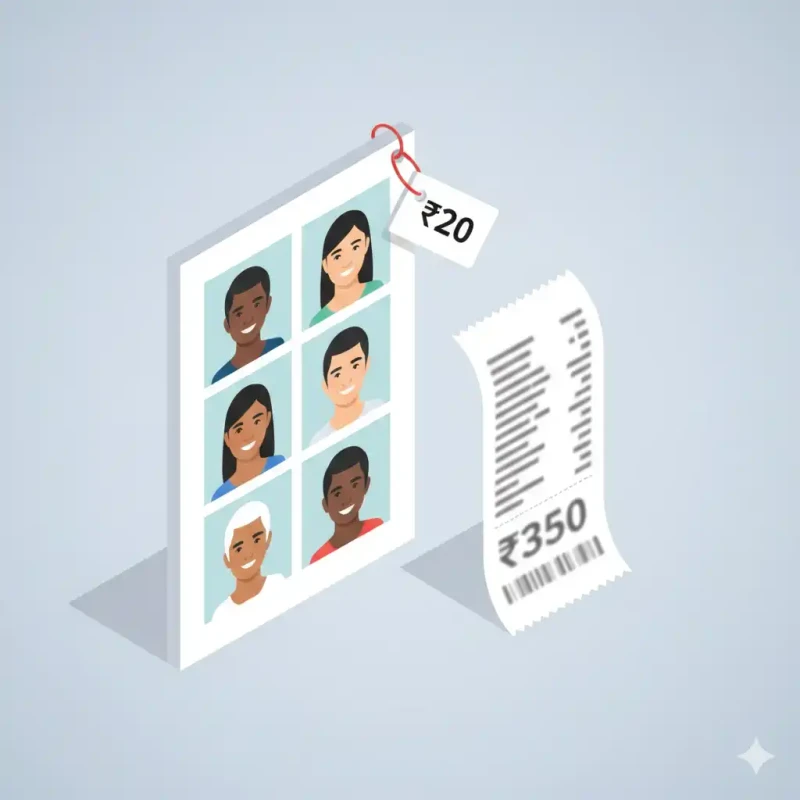
"I will start my business when I have money for a professional shoot."
We hear this excuse every day from aspiring entrepreneurs in Tier-2 and Tier-3 cities in India. They have great products (Jewelry, Handicrafts, Spices), but they are intimidated by the "Instagram Aesthetic" of big brands.
Here is the reality: You do not need money to take world-class photos. You need Physics. Light behaves the same way for a ₹50,000 camera as it does for a ₹10,000 Redmi phone.
This guide will teach you how to build a Zero-Investment Studio in your home using household items. Your total cost will be less than ₹50. Your results will look like you spent ₹50,000.
The "Lightbox" Physics
Why do studio photos look good? Soft Light.
Direct light (Torches, Bulbs, Sunbeams) creates hard, ugly shadows. Studio softboxes "diffuse" (scatter) the light to wrap around the product. We can replicate this.
Step 1: The "Cardboard Studio" (For Small Items)
Perfect for: Jewelry, Watches, Spices, Mobile Accessories.
Material Checklist:
- 1 Old Delivery Box (Shoe box or Amazon box).
- 2 Sheets of White A4 Printer Paper.
- Tape.
- Scissors.
The Build:
- Cut off the top flaps of the box.
- Place the box on its side (like a stage).
- Tape one white A4 paper inside, curving it from the top-back to the bottom-front. This is your "Infinity Cove" (background).
- Place the box near a window.
Step 2: The Lighting (The ₹0 Hack)
Do NOT buy a Ring Light yet. Cheap ring lights create weird circular reflections in glossy products (like Jewelry).
The "Tracing Paper" Diffuser:
- Tape a piece of thin white paper or tracing paper over the window glass.
- This turns harsh sunlight into soft, creamy "Cloud" light.
- Place your box so the window light comes from the SIDE (Left or Right), not the front. Side lighting reveals texture.
Step 3: Shooting (The Phone Settings)
Most people just point and click. Don't be "Most People".
Pro Tip (AE/AF Lock): On your phone camera, tap the screen on your product and HOLD for 2 seconds. You will see "AE/AF Lock". Now, use the slider to lower the brightness slightly. It is easier to brighten a dark photo than to fix a "burned out" overexposed photo.
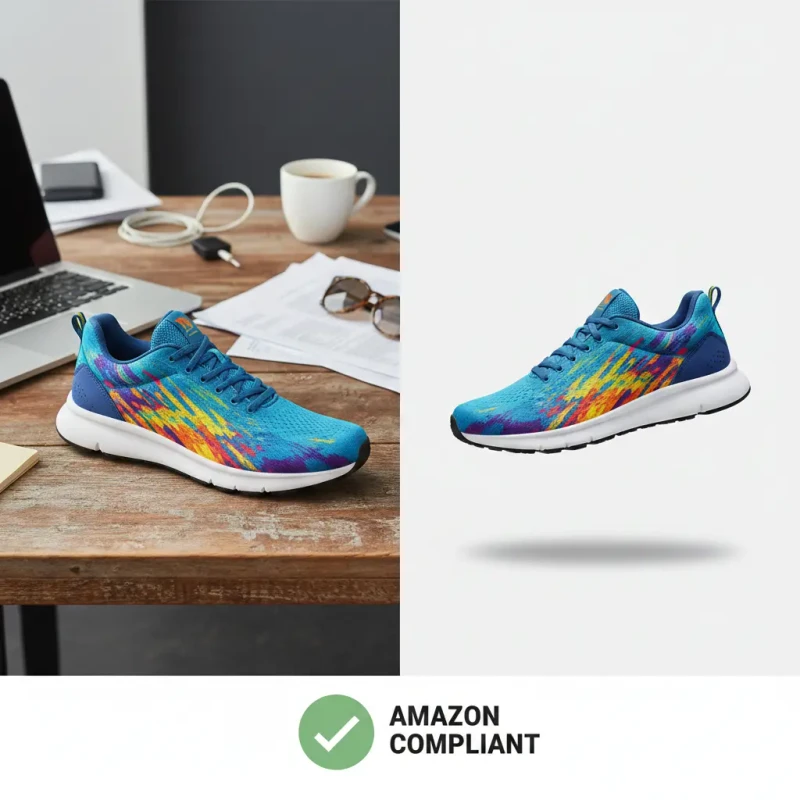
Step 4: The MojoDocs "Studio Finish"
You took the photo in your cardboard box. It looks good, but the A4 paper background isn't perfectly white. It might be light grey. Amazon/Meesho demands Pure White (#FFFFFF).
The Workflow:
- Go to MojoDocs Background Remover.
- Upload your jewelry photo.
- The AI detects the intricate chains/gemstones.
- It removes your A4 paper background entirely.
- Select "White".
Now you have a compliance-ready image.
The Economics of Starting Lean
Let's look at the "Burn Rate" of a new business.
| Expense | Traditional Path | The MojoDocs Path |
|---|---|---|
| Camera | ₹40,000 (DSLR) | ₹0 (Your Phone) |
| Studio Light | ₹5,000 (Softbox) | ₹0 (Sun + Paper) |
| Editing Software | ₹1,600/mo (Adobe) | ₹0 (MojoDocs) |
| Total Startup Cost | ₹50,000+ | ₹0 - ₹50 |
A Note on Jewellery (The Hardest Category)
Jewellery reflects everything. If you take a photo of a gold necklace, you might see your own face reflecting in the gold.
- Fix: Use a white chart paper to cover the front of your setup, leaving just a small hole for your camera lens. This is called a "Gobo" in the industry.
- Fix 2: After using MojoDocs to remove the background, add a subtle "Reflection" using Canva. It makes the gold look shiny and grounded.
Conclusion
The barrier to entry for E-commerce has never been lower. In 2026, technology (AI) + Creativity (Cardboard Box) destroys Capital (Money).
Don't wait for the perfect moment. Build your box. Take the shot. Launch the store.